Showing posts with label crafts. Show all posts

Tuesday, August 6, 2013

Monday Made It--August 5th!

Ugh.  I seriously can't get over the fact that it's already August!  However, my hubs and I are super excited that the final season of Breaking Bad starts in less than a week!  Amazing series.

Alas, I still have to wait until OCTOBER to find out what happens on Scandal.  SIGH.  *pout*

Well, mamacita has been a busy girl these days.  I have been creating and printing and laminating and cutting and spray painting and silhouette-ing and mod-podging and sealing and YEAH.  Busy.  It's a sickness.  But I've got some cute stuff to show for it, so there ya go.

Linking up, of course, with the fabulous Tara over at 4th Grade Frolics for Monday Made It.  Yes, on Tuesday.  Don't judge.


HOME MADE ITS:

Last week I made a sign for our house, and I love it.  I bought one of the unfinished wood plaques at Michael's, spray painted it with Heirloom White (best color), then cut the letters in vinyl on my Silhouette Cameo and applied.  TODAY, I finally topped it off with Mod Podge and a sealer spray.  Hope it lasts.  I hand painted a similar sign on the cutest wooden oar (from Joann's) right after we got married 5 years ago, but my cat was throwing herself against our screen door one day, knocked it down, and broke it in half.  *tear*  So you know, 4 years later, I finally got around to making a new family sign.  :)

BEFORE:

AFTER:


I made another sign for our front window.  I saw a similar one on Pinterest, but it said Thin Mints, which I don't care for, so I changed it to Tagalongs.  :)  Loves me some Girl Scout cookies.  I actually WAS a Girl Scout as a child, and I looooooved selling the cookies.  It was back in the day when it was relatively safe to go door to door in your neighborhood.  

BEFORE:


AFTER:
Sorry; not a great picture, but I was too lazy to pull it out of the window.  LOL.  I think it's cute, but I'm a little bummed that the vinyl letters somehow got moved when I painted on the Mod Podge, so they're not spaced very well.  Boo.  But oh well.  Probably no one but me cares.  :)


SCHOOL MADE ITS:

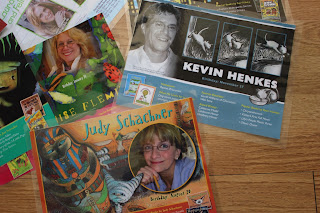
I'm really excited about this one.  I was in my classroom moving furniture Friday, and I came across this old calendar from Scholastic.  Each month featured a children's author whose birthday fell in that month.  I remember using the calendar a couple of years ago, but I saved it for some reason.  Well, I figured it would make a fun display near our class library!  I trimmed each author page and laminated them.  I created some letters on my Silhouette to say "Authors We Love," and I plan to make it a focus wall above the library.  FUN!  


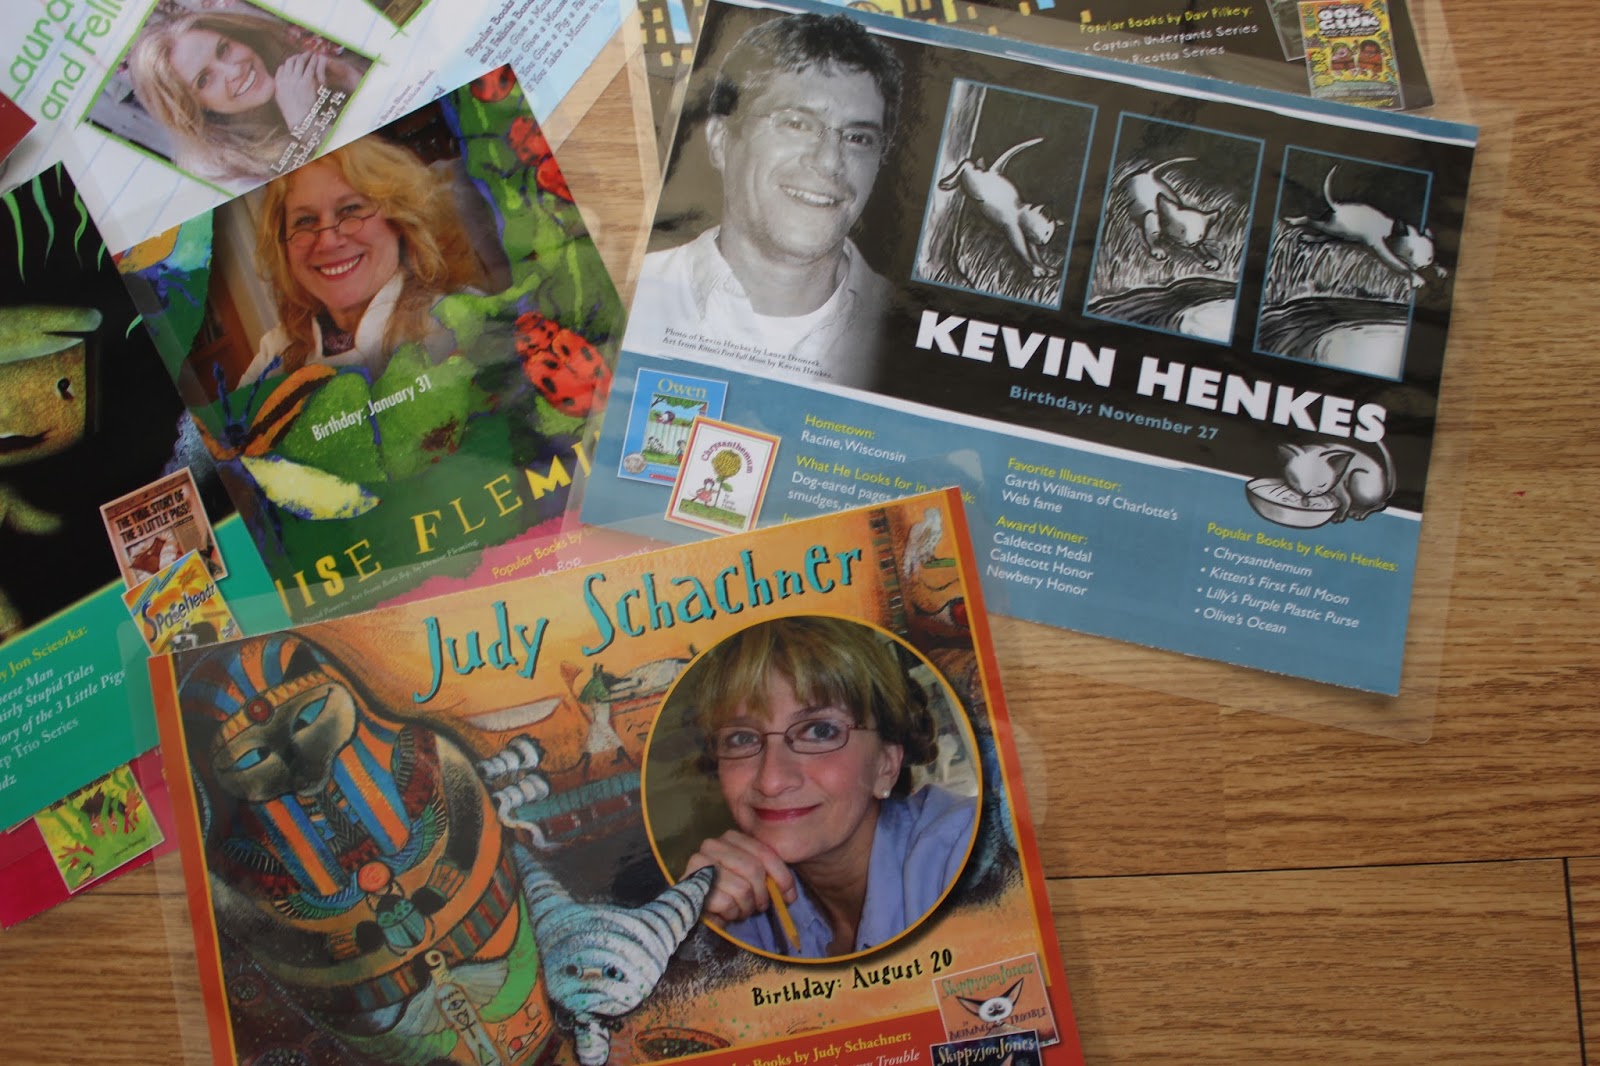
I plan to mount the title and posters on the lime green fadeless paper I bought, 
so hopefully they'll really pop.
This pic sucks.  I'll post a better one when the wall is finished in my library.  :)


I also made a couple fun goodies with my trusty can of lime green spray paint and upcycled frames from Goodwill!  Check out these before and after pics!

BEFORE:
Pretty, huh?  What?  No?  LOL.
AFTER:
Dry erase board!  POW!

BEFORE:
(Another beauty.)

AFTER: 
Frame for the kiddos to hold as I snap their cutie pie pictures on the 2nd day of school!
Can't wait!  Cuteness.  I (of course) used my Silhouette Cameo to cut out the letters,
laminated and cut them out, then used glue dots to attach.   LOVE glue dots, people.


Well, I posted some of the posters I made before, but here they are printed and laminated!  My new Daily 5 posters to match the colors in my classroom, and my new teaching binder in chevron brights!  LOOOOOOOVE me some chevron, and equally (actually even more) love me some bright/neon colors.  Holla.  


I also made a new alphabet line to match my classroom.


Hope you enjoyed--thanks for stopping by, and happy August!  If you haven't started back yet, enjoy the remainder of your summer-- know I am!

Check back later this week for an update on how my classroom is coming along and to make yourself feel a whole lot better about whatever state YOUR classroom is in.  Trust me--you have to see these pictures to believe them.  It's a like a freakin' sharkNADO tore through!

LONGEST POST EVER.  OY!

Monday, July 8, 2013

Cafe Awnings: How To!


I've gotten several comments asking how I made the cafe awnings in my classroom (yay for people finding me through Pinterest--gotta love the internet!), so I thought I'd post some information here, though I'm sad to say we didn't take pictures during the process.  :(  I will do my best to explain, though.

I'm going to link up with Tara's Monday Made It for this!  Hopefully it'll spark some ideas for those on the prowl to make their classrooms cuter!


Here are some pictures of the finished awnings in all their glory:


OK, the polka dotted awnings themselves are actually just wrapping paper I bought at Party City.
I think it would be just as cute or cuter to do the whole long awning in just one print/color.
But that's neither here nor there.  Anywho.

My brilliant cousin helped me make these, by the way--I told her what I wanted, and she figured out how to make it happen.  GENIUS, I tell ya!

First, we measured the length each section was going to be, unrolled the wrapping paper roll, and marked it on the inside white side with a sharpie.  (For the 2 outside edges, be sure you allow an extra few inches on each side.)

Then to make the scalloped edges, we used a small, dessert-sized styrofoam (sp??) plate.  We put it face-down and traced the top half (semi-circle) of the plate (repeatedly) on the white underside of the wrapping paper with sharpie.  Then we cut along the scallops we traced.  Voila, you have your paper.  Now, just to figure out how to hang it!  (Obviously, we just did one section at a time, and it took both of us to hang.)


 YOU WILL NEED:
1) a cardboard tube (must be strong; a toilet paper roll is too flimsy. I used a thick tube from a different wrapping paper.)
2) a hot glue gun
3) thumb tacks (not the flat kind, the kind that stick out)
4) scissors
5) stapler that lies flat to staple on the bulletin board
6) box cutter, etc. (yes, I have one of these hidden in my teacher desk!)


So as I hope you can see above, I folded down about 2 inches of the wrapping paper and stapled it to the very top of the bulletin board, all the way across the section.  (You will need a helper to hold up the paper while you staple.)

After deciding how far you want the awning to stick out from the bulletin board, you'll need to cut your cardboard tube into several sections that are that length.  (This is where that box cutter comes in.)  I think we did about 3 inches out from the bulletin board and then cut the tubes to fit.  You may also want to CREASE the wrapping paper (you may be able to see the creases in the photo) before you start stapling or hanging.

Each "section" of my bulletin board has 2-3 cardboard tube pieces helping to hold it up.  I hot glued one circle end of the tube piece, then pressed it to the very top of the awning (where I stapled) to provide a support for the paper.  Then I put hot glue on the circle end sticking out toward me and pressed the front of the awning on it (careful not to burn yourself!).

Hot glue the other cardboard tube pieces in the same way, spacing them out to provide support.

For extra support, I used thumb tacks.  I pushed in several thumb tacks just under each cardboard tube to help anchor them a little bit.  Get the thumb tacks as close as possible up against the tubes.

The last thing we did was to even out the 2 outside edges of the awning. 

Can you see the little slit we cut on the right side there?
The part that sticks straight out from the wall on the far right, we cut a line between the last scallop and 2nd to last scallop and then folded the far right scallop inward and under to even it out.

Can you see it here on the underside?

I really hope this helps!  I wish I had thought to take some step-by-step pictures!

Thanks to everyone who has complemented my awnings and who has expressed interest in learning more about them.  Please send me pics if you end up making some; I'd love to see what you come up with!

Thanks for stopping by!

Tuesday, July 2, 2013

Monday Made It: July!

I am sad to say that it's already July because July is almost August, and August is back to school.

However, I am NOT sad to say it's July because hubs and I are taking a trip to Mexico this month!  (Not the whole month...is that how that sounded?  Just 4 days.)  YAY BEACH and fruity drinks!  Can't wait, though I am already worrying about leaving the little man.  I know he'll be in great hands with our parents (both sets of grandparents are taking him part of the trip).

My view in 2 weeks!


We just celebrated our 5th anniversary, so our trip is really for that, so yay!  Last summer we drove to Destin for a few days, but we haven't taken a proper "fancy" trip for quite a few years (pre-pregnancy, hehe).

5 years ago

Anywho, I am finally joining in for another Monday Made It with Tara at 4th Grade Frolics!  I hope you'll stop by and check out all the fun ideas from different bloggers and/or share your own creations!


Friday, after I dropped off my little guy at the babysitter's, I came back home to find that our garage door was not working and wouldn't open!  Normally not a big deal, but our front door is also currently broken.  (Why does everything seem to break at the same time?)  So after trying (unsuccessfully) to break into my own house through the back door, side door, and by kicking in the front door, I decided to do something much more productive:  shop.  I used $50 in gift cards for new books at Barnes & Noble, got some new stuff for me and the little guy at Old Navy, and got some goodies at JoAnn's to make a burlap wreath (which I've been wanting to do for a long time).

Here's my first attempt at a burlap wreath:

Not perfect, but pretty good for my 1st try!  :)


I hope everyone is enjoying their summer.  Holla!


Wednesday, August 15, 2012

Classroom Work Day #2

Well.  My lovely cousin, Melissa, and I worked in my classroom Monday from 10 am to almost 9 pm.  With a short mid-day break to buy more fabric and pick up food.  I'm exhausted, but the room is coming along!

Don't get me wrong, it's still an absolute mess, but I love how it's looking, decor wise.  I hope you like it, too!

partial view from the entrance to my room

the new Word Wall letters I made to match my new colors


Citizenship bulletin board with glitter wrapping paper

Listen to Reading sign (my listening center goes right under this board)

wall outside my door (I'm standing in the stairwell to take this pic--
no one else has this big wall to decorate except for us stairwell peeps)

My new Welcome sign in all its glory
(the backgrounds are paper plates from Dollar Tree)

My new door sign (made them for my whole team)

My cute new bulletin board area with awnings!
Left will be a focus wall.  Daily 5 in center.  CAFE on right.

Close-up (can't find the cards for the first 2 letters, agh!)

View from a side angle

How we made the awnings stick out from the wall
(used a box cutter to cut the cardboard roll from my glitter wrapping paper)
(never would have figured this out--PTL for my cousin!)

I like the aqua glitter letters, but they are so small!
May have to cut some plan aqua ones on my Cricut; we'll see.

Hope you enjoyed my partial tour!  I'll be back with  more pics, but my room is a WRECK right now!  It amazes me how much work it takes to get the room put back together every year.  You'd think it would get faster with experience, but apparently not.  Sigh.  :)  

Only a few more days of freedom till I have to leave my little man full-time again.  *tear*

Linking up with Tara's Monday Made It for my cafe awnings (even though it's Wednesday, almost Thursday).  (Don't judge.)  :)  Oh, and I technically did all this on Monday, so it's cool, right?!  Lol.

Be sure to go check out everyone else's awesome creations this week.  I am always astonished at the creativity out there.  :D


Monday, August 6, 2012

Monday Made It: good times!

Well, I could've sworn I had a lot of little projects to share this week, but it appears most of them were created on the computer and/or Cricut, and all of those are off with my friend who took my stuff to get laminated for me!  :D  I just took some screen shots to share instead of the real deal.  :)

I'm linking up with Tara at 4th Grade Frolics, of course.  :)


This is my new classroom banner.  I still have to string all the pieces together with ribbon, of course.  I haven't decided where I'll hang it, mainly because I haven't been able to get into my classroom since they didn't clean it till today.    

Our school-wide theme is "Peace, Love, Longhorns" (our mascot), and we use the phrase:
Do what you love; Love what you do.


I also made some new month headers for my calendar.  
These will go nicely with my new classroom theme/colors.  :)


New Word Wall letters:


I made these signs for my whole team: each of us in a different color. 
I figure we can hang them on/by our classroom doors.  
(Peace sign backgrounds are from Surfin' Through Second.  Click the link to visit her TpT store.)


 Here's my new behavior clip chart.  The one I've used the last 2 years is just made from construction paper that I wrote on with a Sharpie.  Yeah.  So I finally decided to remedy that eye sore.


Be sure to visit the linky party and check out everyone's creations!

Total Pageviews